I clicked on payment, but it will not take me to Nets and the payment solution?
If you are using a MAC, we have found that this can sometimes be an issue.
Try using your phone or another device.
If it doesn’t work on a regular PC/tablet, check your settings to “allow pop-up pages.”
How do I order parking?
To book parking, follow the steps outlined below.
The first time you book, it may take a little extra time to set up your profile and get familiar with the process, but future bookings will be much simpler.
Go to www.gardermoenparkering.no and click on Check Price and Book Parking.
You will then be directed to a new platform and booking portal.
Tip for regular users: Register with your own account, which will allow you to manage and view your bookings, as well as change your license plate number or cancel if needed.
If you don’t want to register, skip the next steps and go to “Booking Parking” below in this email.
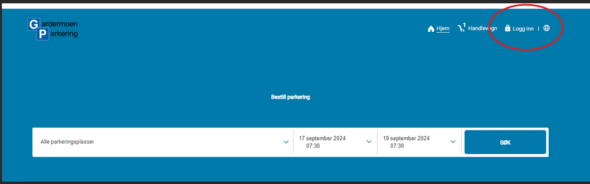
Registering a User Account:
Click on this: (Before searching for parking)
You need to enter this information:
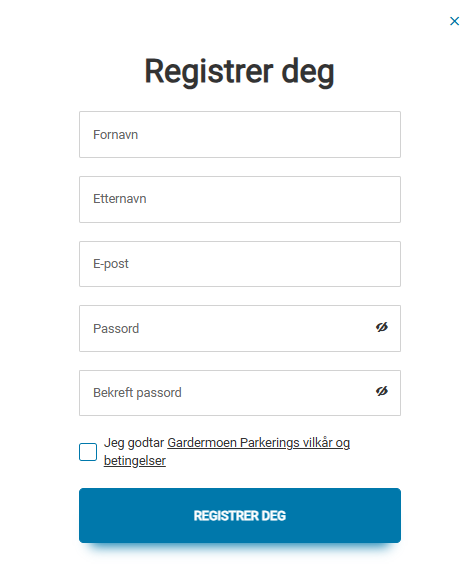
Important: You will receive an email with an activation link that MUST BE CONFIRMED shortly after registration. Note that this may end up in your spam folder.
After confirming your email, log in, and your name will appear here:

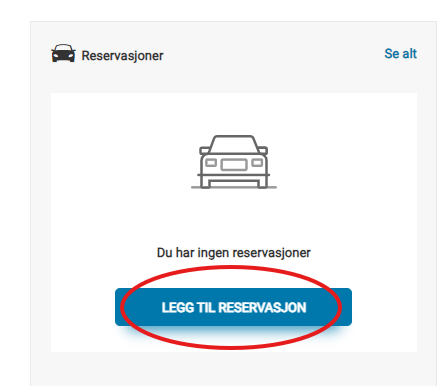
Go to your “dashboard” and check the menu on the left side:
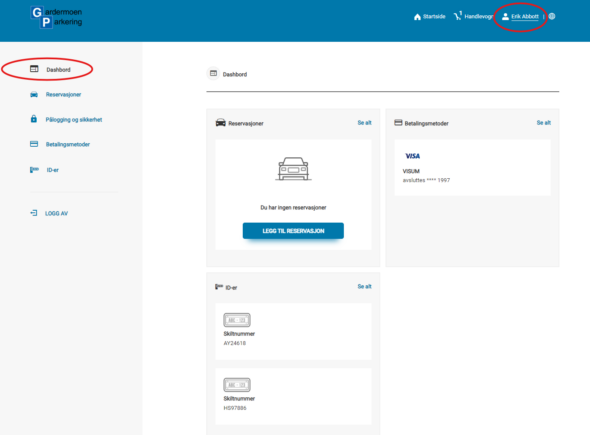
In the menu, select Payment Method and save your card information. Next, select IDs and enter your license plate number. If you have multiple cars in your household, you can add additional license plates. You’ll be able to choose between these when making a reservation.
After entering the information above, click “Add Reservation.”
You are now ready to start a booking.
Booking Parking:
Have your credit card and BankID/ID token ready, as you will need them at the end of the process. Be precise with the times you enter and allow at least 2–3 hours for arrival before your flight and 1–2 hours after arrival.
We have a standard entry window that allows you to enter up to 3 hours before and after your scheduled parking start time at no extra cost. For example, if you booked for 03:00, you can access the parking from 00:00 to 06:00.
If you stay longer than originally planned, there’s an automatic 3-hour grace period. After that, you will need to pay upon exit.
Enter your desired date from/to, and remember to adjust the time as needed. Then click Search.
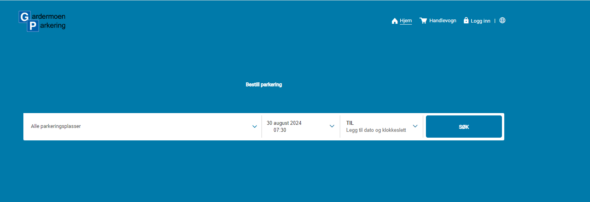
Note: If you change the date in the search, the calendar may not immediately reflect the new date/time. However, after clicking Search, you’ll see the updates on the next page.
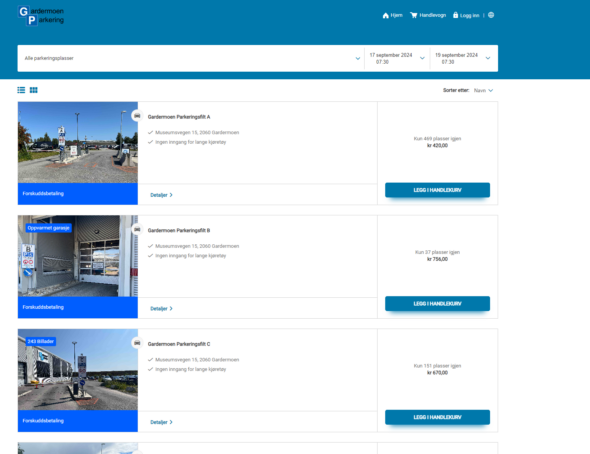
You will then see the available parking options for your selected time.
Choose the option you prefer by clicking “Add to Cart.”
In the cart icon, you should now see a “1” indicating one item. Click on the icon:

Double-check the date and time to ensure it matches your desired booking, then click “Checkout.”

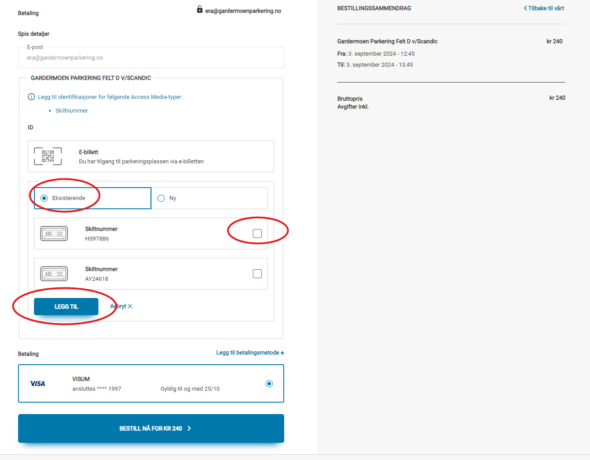
A screen will appear where you’ll enter your email, first name, and last name, then click “Add Identification.”
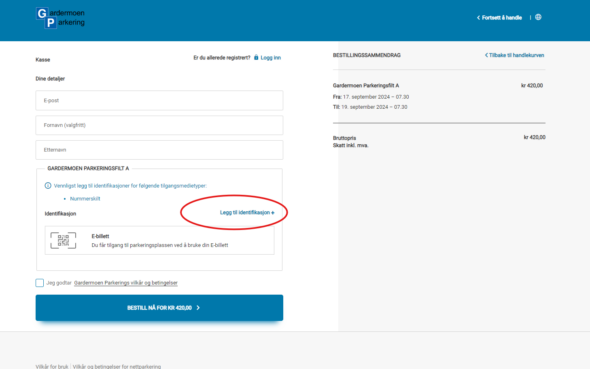
If you’ve registered a user account, your license plates will appear, and you must select one. As a guest user, you must enter the country and license plate number but ignore the field “Access Media Type,” which is inactive on our system.
IMPORTANT FOR GUEST USERS OR REGISTERED USERS:
Enter the license plate number without spaces before, in the middle, or at the end. Example: TEST1234, not Test 1234.
Finish by clicking “Add.”
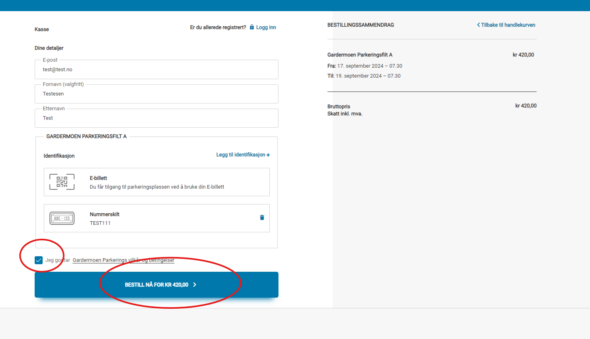
Now, accept the terms and click “Order Now for NOK…”.
Before clicking this, have your credit card and BankID ready.
You’ll be redirected to the credit card payment solution.
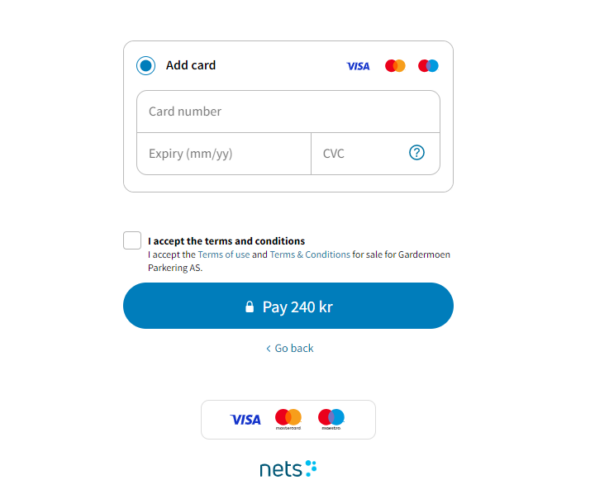
Make sure to enter a valid card number, expiration date, and CVC (3 digits on the back of the card). Check that you agree to the payment terms, and click “Pay.”
Within seconds, you’ll receive an on-screen confirmation stating “Payment Successful.” However, the process is NOT yet complete. Do not leave this page until the QR code, which starts out gray, turns black. This will happen in a few seconds. Once the QR code is black, you can safely exit the website.
Now that your first booking is complete, you only need to log in next time, go to checkout, and repeat the last steps for future bookings.
If there’s anything else, don’t hesitate to contact us 😉
Additional Info:
Please note that emails may sometimes end up in your spam/junk folder.
You will receive two emails: a receipt and a travel confirmation. The latter is only for security in case the camera doesn’t work, or if there’s an error with the license plate information. (Note: It says “invoice” on the second attachment, but we are working to change it to “receipt.”)
The parking area uses license plate recognition. Drive slowly toward the gate. Entry via license plate recognition is only possible 3 hours before and 3 hours after the designated start time.
The QR code can be used at the gate’s QR reader, BUT ONLY if the gate does not open automatically. License plate recognition is the primary solution for entry and exit at the parking areas. If license plate recognition fails, remain in the car at the gate and use the QR code. NOTE: If you use the QR code to enter, you must also use it to exit.
Problems booking with an existing user account, what am I doing wrong?
We’ve noticed some issues along the way and will publish solutions as soon as possible.
When creating a free account, You must verify it using the verification link in the email sent to You.
Check Your spam folder; our emails will end up there on first contact.
If the verification was not completed, the email You used will “block” You from completing the booking.
You will need to contact us and have Your account deleted through the contact form, and to proceed with a booking use an alternative email on a guest user.
If You have a verified account and tried to book a parking, but are not directed to the payment solution, delete Your stored creditcard information on Your profile. Proceed then and complete the booking by entering the card number manually when asked for.
This can happen when there is an update from the card provider, e.g., Mastercard, which recently had an update in October 2024.
Once You store it again, it should work next time untill new update.